
A flat tire is a common and inconvenient road hazard that can happen to anyone at any time. Whether you’re on a cross-country road trip or just commuting to work, having the skills to plug a tire can be a valuable asset. In this comprehensive guide, we’ll walk you through the step-by-step process of fixing a flat tire using a tire plug kit. Armed with this knowledge, you’ll be better prepared to handle unexpected punctures and get back on the road quickly and safely.
Understanding Tire Damage:
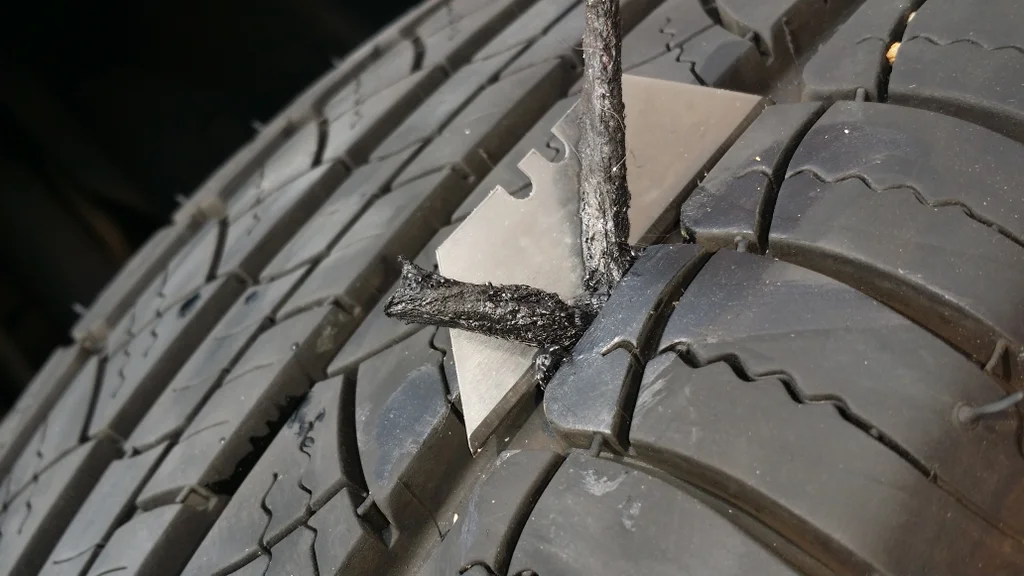
Before diving into the tire-plugging process, it’s essential to understand the types of tire damage that can be repaired using a tire plug. Tire plugs are suitable for repairing small punctures caused by nails, screws, or other sharp objects. However, they are not recommended for repairing large or sidewall punctures, as these can compromise the structural integrity of the tire.
Tools and Materials:
To plug a tire successfully, you’ll need a few tools and materials. Here’s a list of what you’ll need:
- Tire Plug Kit: This typically includes rubber plugs, a reaming tool, and a plug insertion tool.
- Tire Pressure Gauge: To check the tire pressure before and after the repair.
- Pliers: For removing any foreign objects from the puncture.
- Jack and Lug Wrench: To lift the car and remove the flat tire.
- Soap and Water Mixture: For locating the puncture by creating bubbles when applied to the tire.
Step-by-Step Guide:
- Safety First:
- Park your vehicle in a safe location away from traffic.
- Engage the parking brake and turn on your hazard lights.
- Ensure the vehicle is in gear or “Park” (for automatic transmissions).
- Locate the Puncture:
- If the cause of the flat tire is not obvious, use a soap and water mixture to identify the puncture.
- Apply the soapy water around the tire, and bubbles will form where the air is escaping.
- Remove the Foreign Object:
- Use pliers to carefully pull out any nails, screws, or other objects lodged in the tire.
- Check Tire Pressure:
- Use a tire pressure gauge to measure the remaining air pressure in the tire.
- Lift the Vehicle:
- Use a jack to lift the vehicle off the ground, following the manufacturer’s guidelines.
- Remove the flat tire using a lug wrench.
- Prepare the Puncture:
- Use the reaming tool from the tire plug kit to clean and roughen the puncture hole. This ensures better adhesion for the plug.
- Insert the Plug:
- Take a rubber plug from the kit and insert it into the plug insertion tool.
- Push the plug into the puncture hole until about half an inch is sticking out.
- Trim Excess Plug:
- Use a sharp knife or scissors to trim off the excess plug flush with the tire tread.
- Reinflate the Tire:
- Use a tire inflator or an air compressor to reinflate the tire to the recommended pressure.
- Check for Leaks:
- Apply soapy water to the repaired area and check for bubbles, ensuring there are no air leaks.
- Reinstall the Tire:
- Place the repaired tire back onto the vehicle and hand-tighten the lug nuts.
- Lower the vehicle with the jack and then use a lug wrench to tighten the lug nuts in a star pattern.
- Final Pressure Check:
- Double-check the tire pressure to ensure it matches the manufacturer’s recommendations.
Conclusion
Learning how to plug a tire is a valuable skill that can save you time and money, especially when faced with unexpected flat tires. With the right tools and a step-by-step approach, you can confidently repair minor punctures and get back on the road without relying on professional help. Remember that tire plugs are a temporary solution, and it’s crucial to monitor the repaired tire for any signs of leaks or additional damage. If in doubt or if the damage is extensive, consult a professional tire technician for further assistance. Safe travels!
READ ALSO; What Do Blue Light Glasses Do?